THE
BROTHERHOOD AND THE SHIELD
 It's
one thing to work on a personal project where you can pretty
much do what you want, when you want. But a commission requires
collaboration and, of course, the ability to satisfy a client. It's
one thing to work on a personal project where you can pretty
much do what you want, when you want. But a commission requires
collaboration and, of course, the ability to satisfy a client.
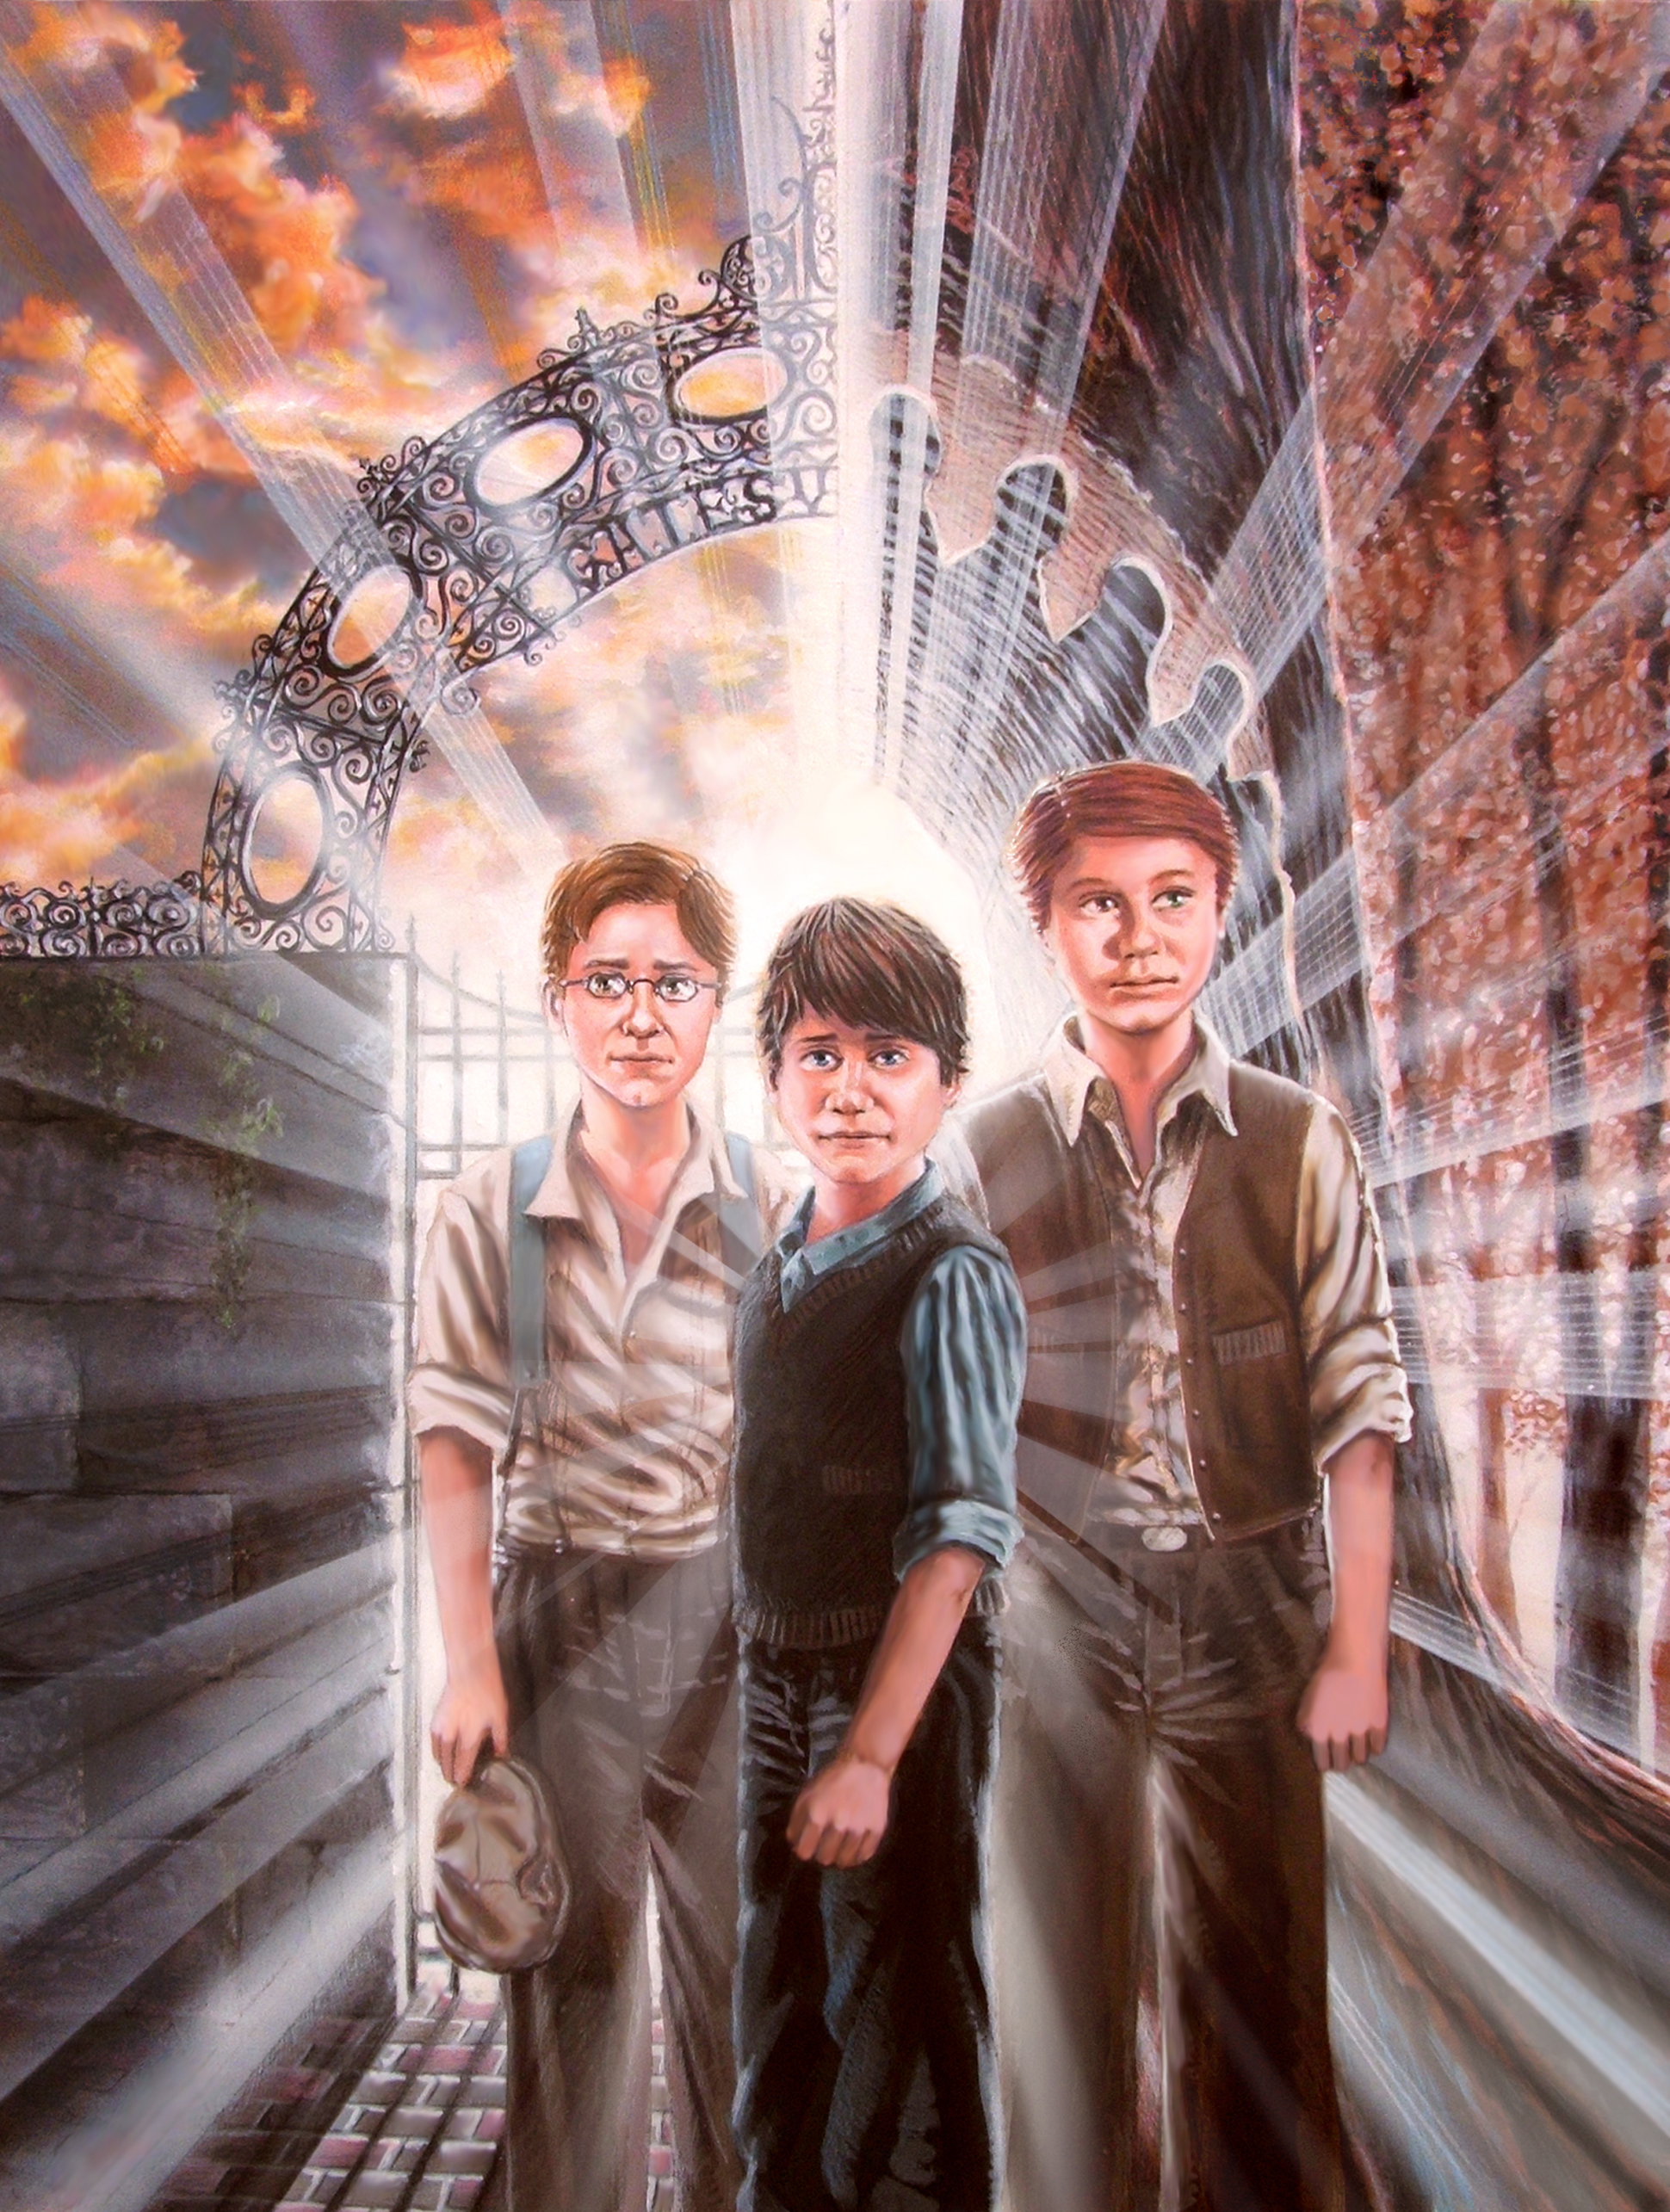
I
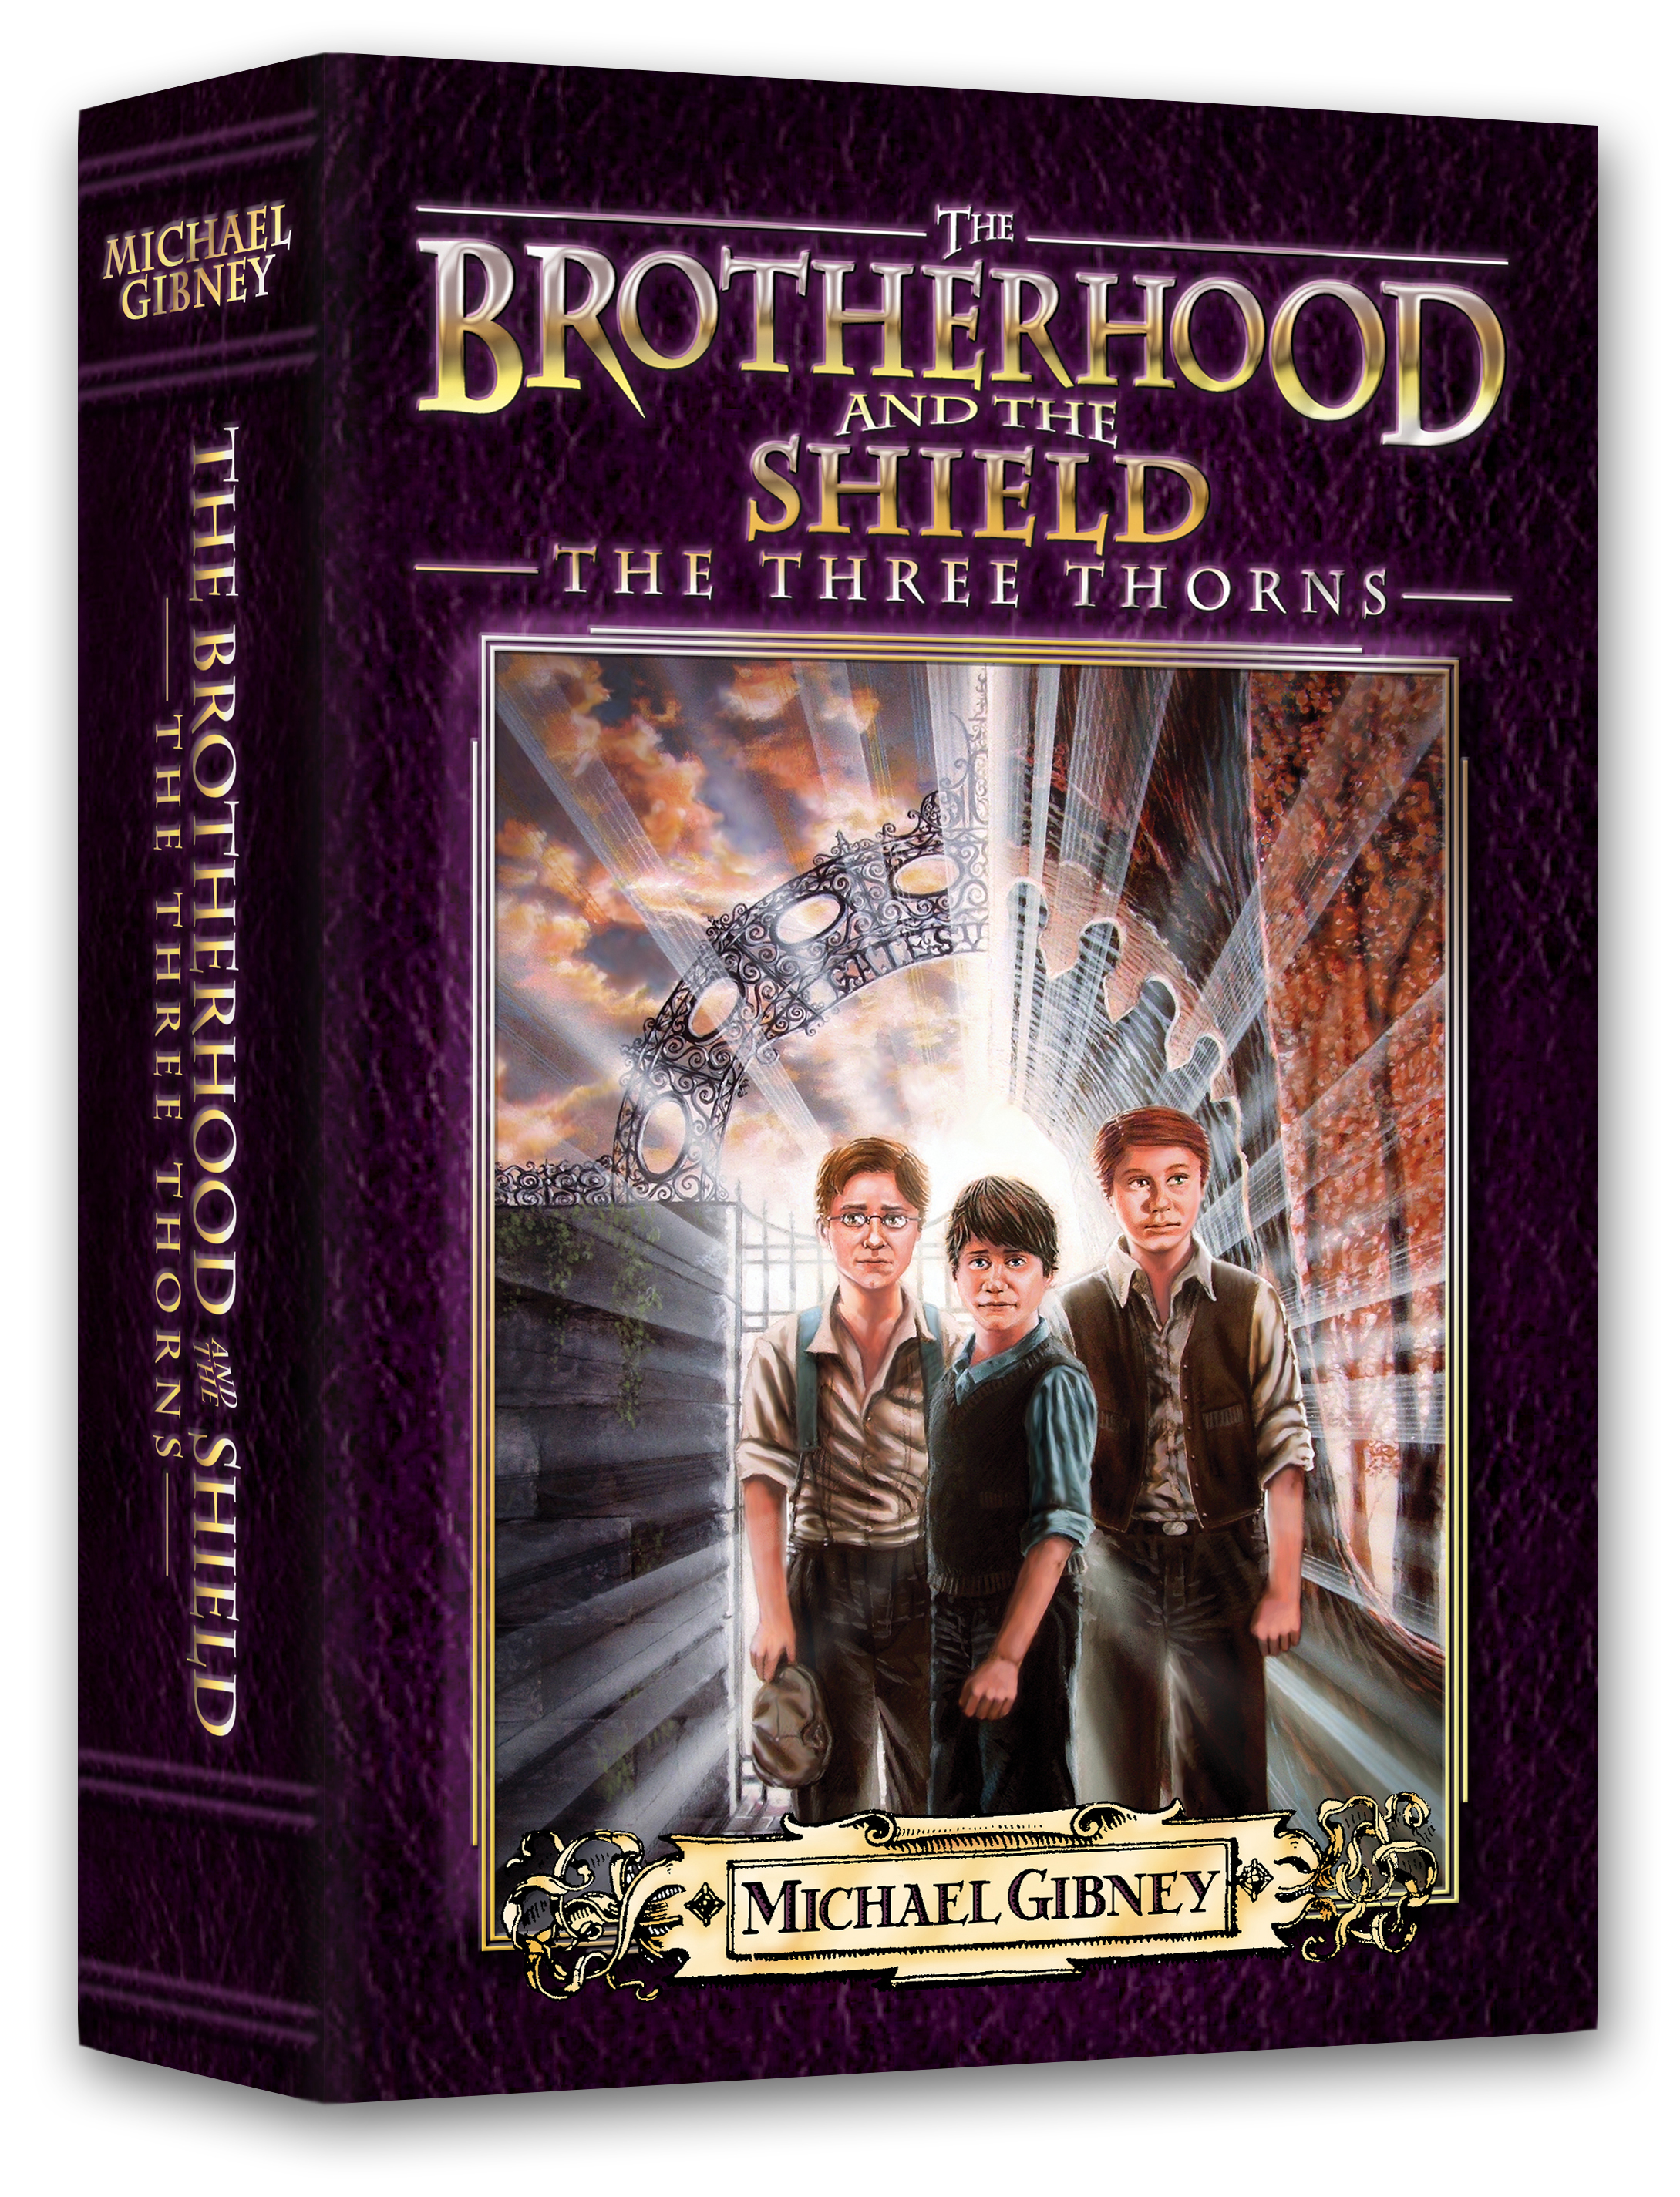
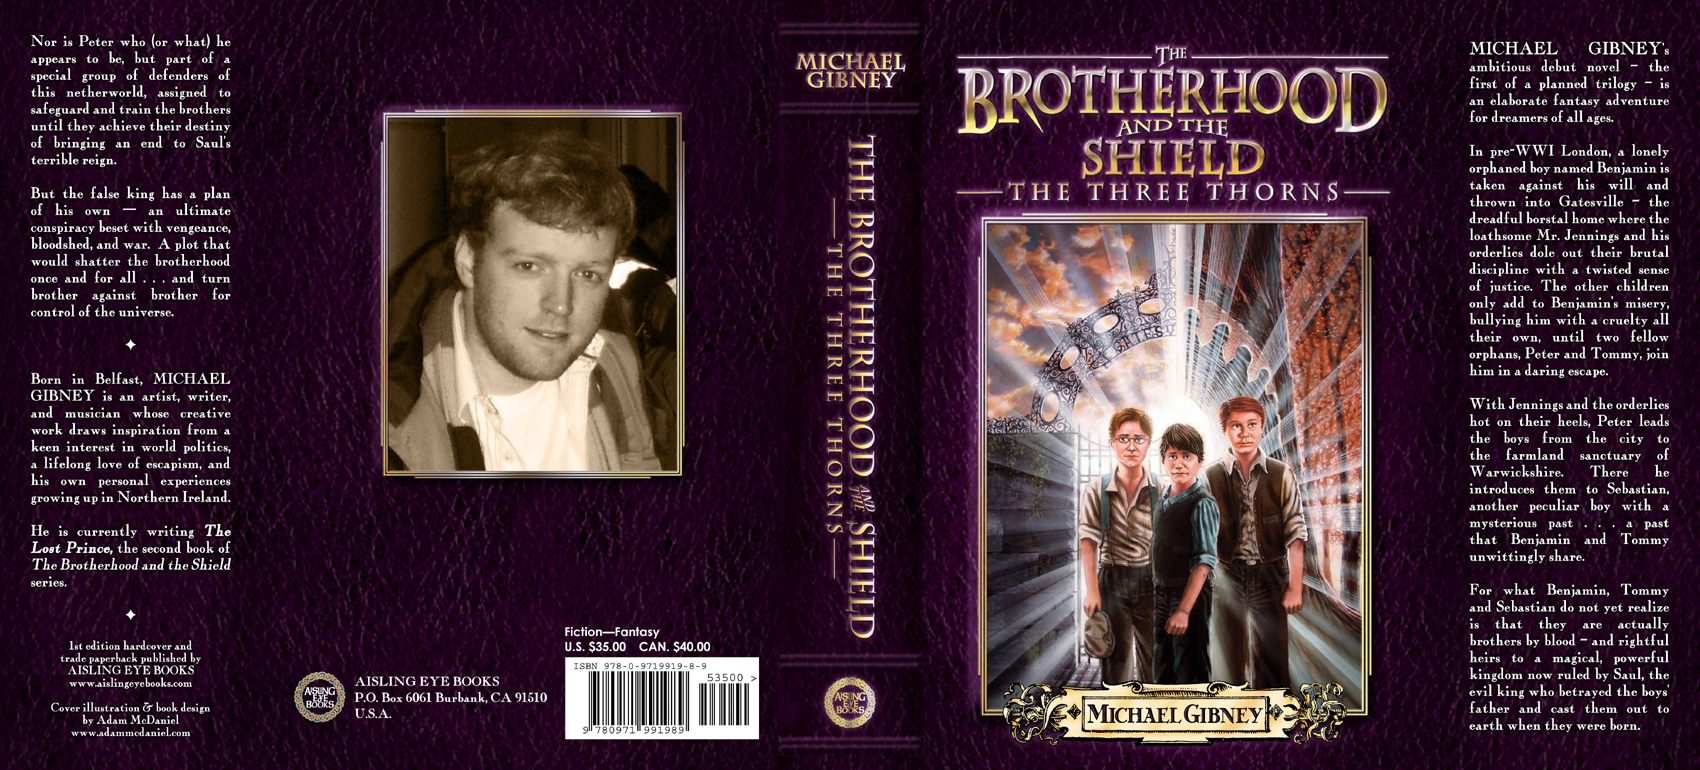
received a commission to do a cover for a fantasy book, "The
Brotherhood and the Shield". The author had some very specific
things he wanted to include, such as an iron gate to a turn of the
century borstal home, and a fearsome tree that serves as a portal
to another world.
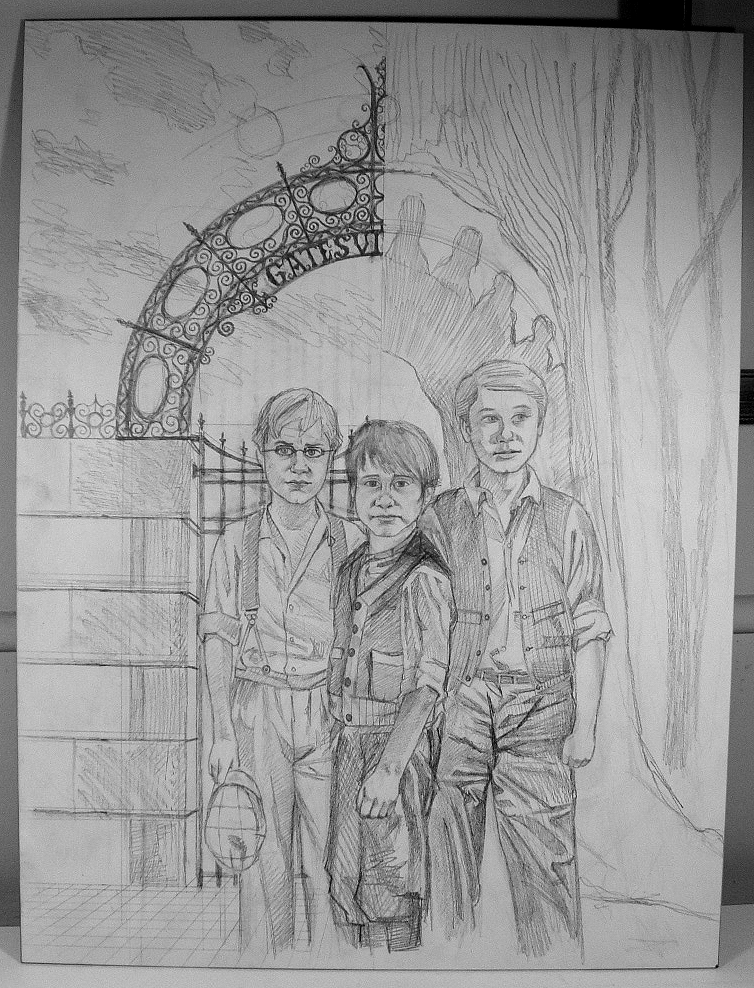 After we each made a few sketches, I presented an idea he
liked: splitting the scene down the middle, with the reality on
one side, the magical world on the other. The gate and the opening
in the tree would together form an arch, while the book's three
lead characters stood in front.
After we each made a few sketches, I presented an idea he
liked: splitting the scene down the middle, with the reality on
one side, the magical world on the other. The gate and the opening
in the tree would together form an arch, while the book's three
lead characters stood in front.
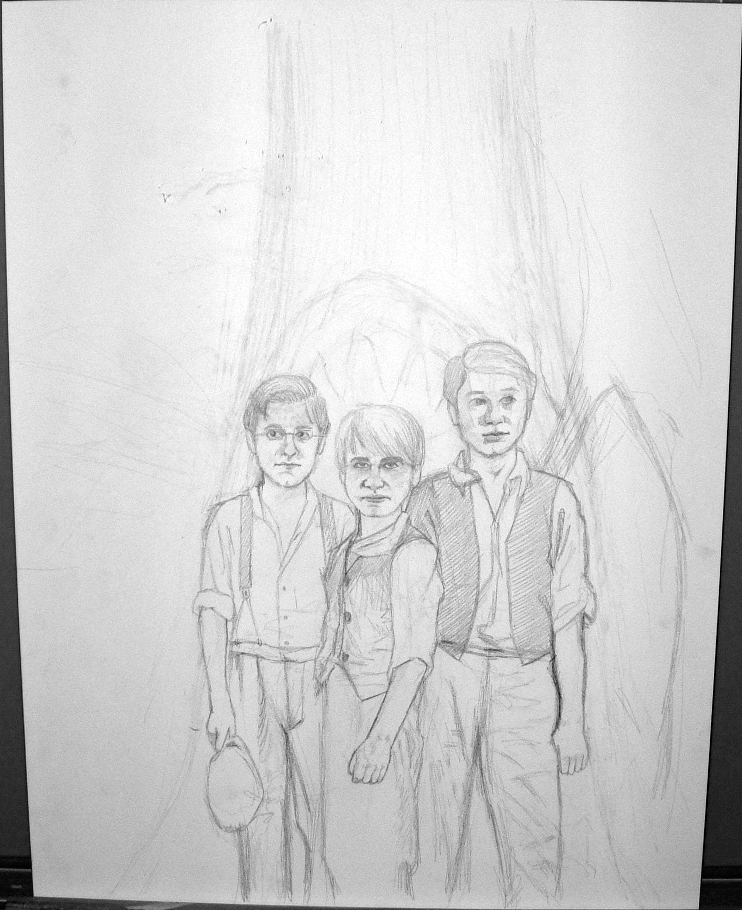
The
author also knew just how he wanted the characters to look, so
based on some reference photos he provided, as well as period
costumes and stills I pulled from the web, I was able to present
a final sketch for his approval.
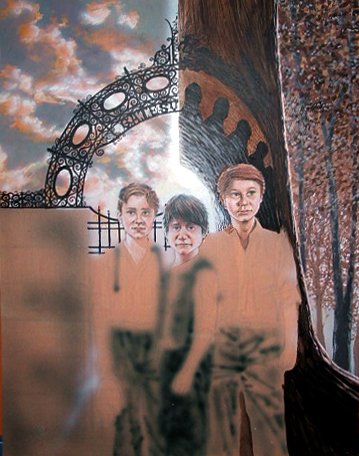
When
it came to painting, I first used a general wash of bright orange
to serve as a "foundation" for the colors. I then airbrushed
some basic light and dark elements, just to see how the overall
color scheme would "flow".
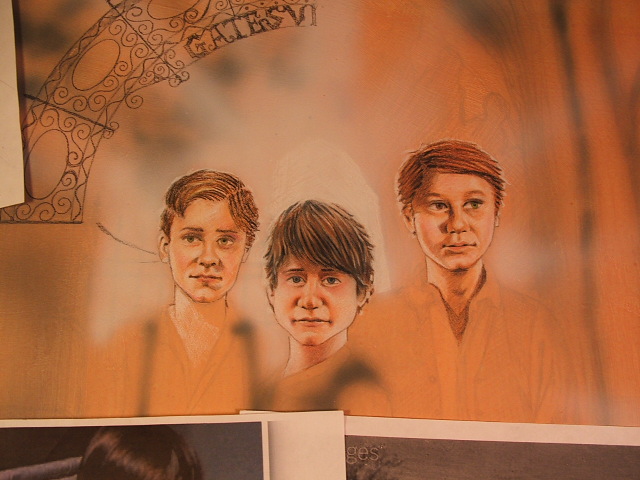
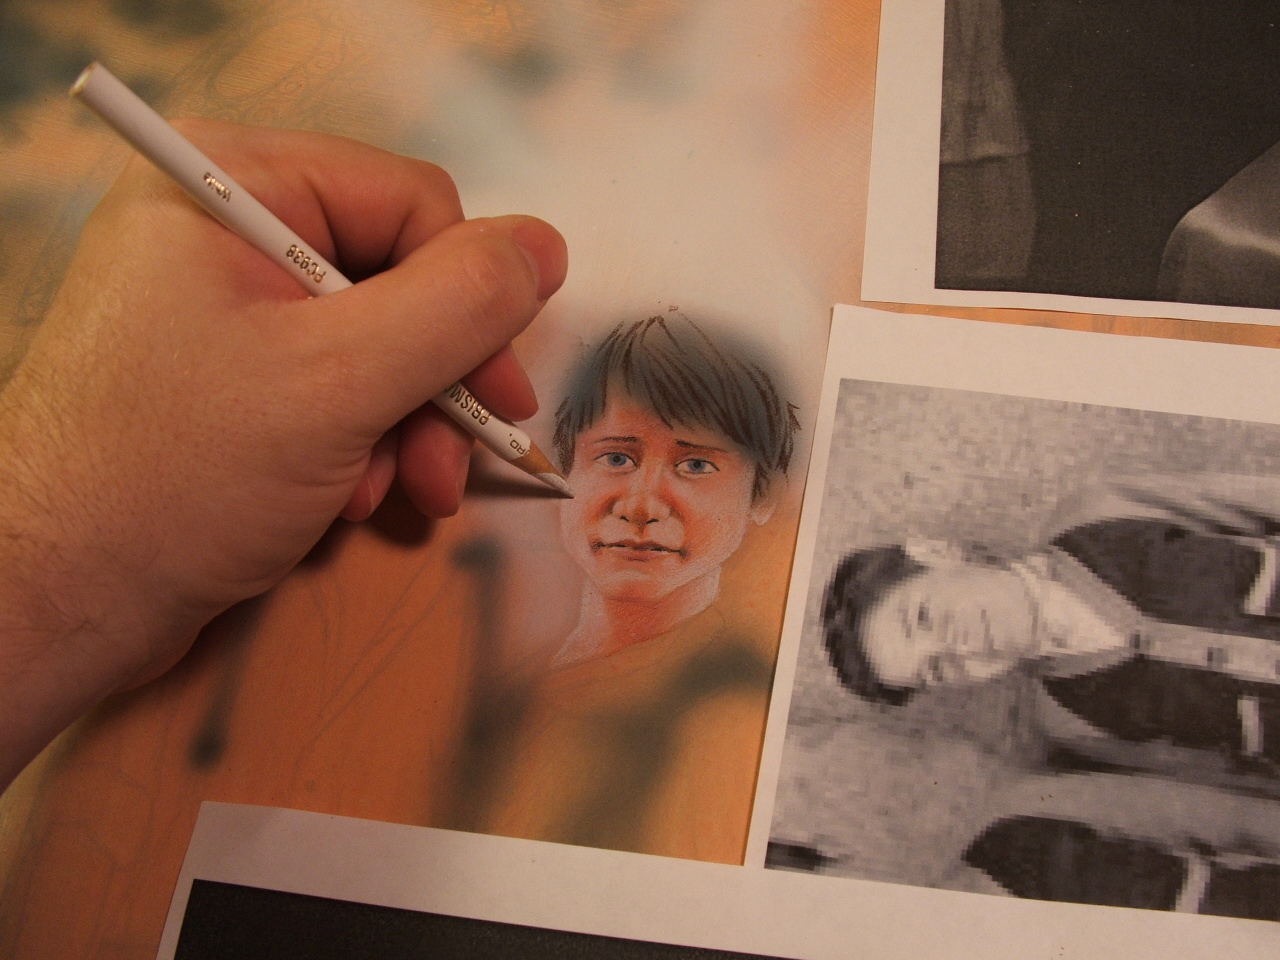
 Because
this painting was going to be fairly detailed, I started out on
the faces with colored pencils. It's a much easier starting point
for small, detailed portraits, as doing a refined portrait with
acrylic paints takes me a lot of time. Because
this painting was going to be fairly detailed, I started out on
the faces with colored pencils. It's a much easier starting point
for small, detailed portraits, as doing a refined portrait with
acrylic paints takes me a lot of time.
 After the background and lighting effects are done, I then
go back to the faces and add more details and touchups with paint.
After the background and lighting effects are done, I then
go back to the faces and add more details and touchups with paint.
These colored
pencil "roughs" are best as a guide before doing the
backgrounds. It also allows the client to see how the faces will
basically appear before I go into the nitty-gritty of painting
everything. At this point, I'm still able to make extensive revisions
without too much difficulty.
Now
comes the nitty-gritty. I start with the major colors first, in
this case, orange, blue, and black. I'll go over them in more
details and using other colors as the painting progresses.
Painting this way speeds up the process for me considerably.
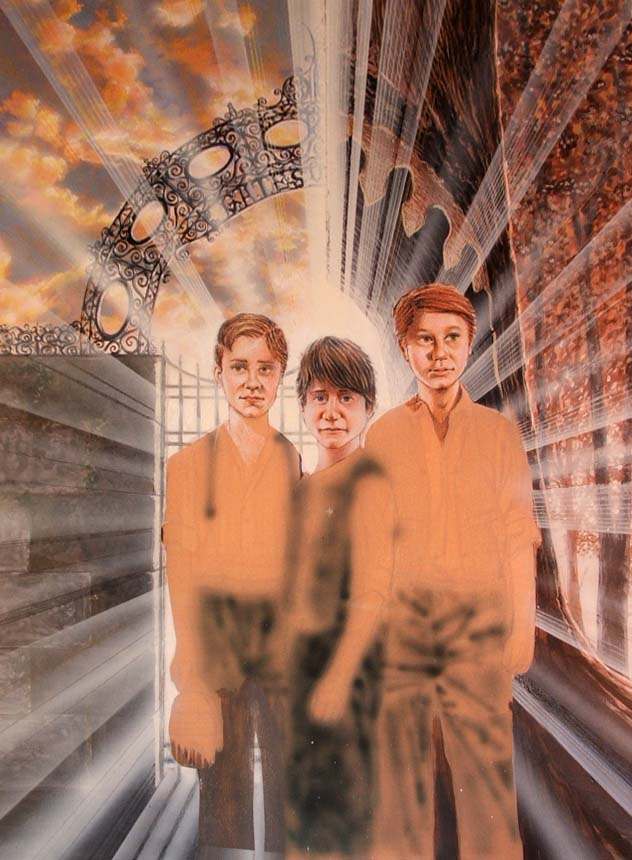
I freaked out after airbrushing these lighting effects, thinking that
I'd gone waaaay overboard. But even though I hated it, the client
actually liked it! (Thank God.) In the future, I swear I'll save this
kind of work for Photoshop; it's easier to use, and if you make a
mistake you can fix it with the touch of a button.
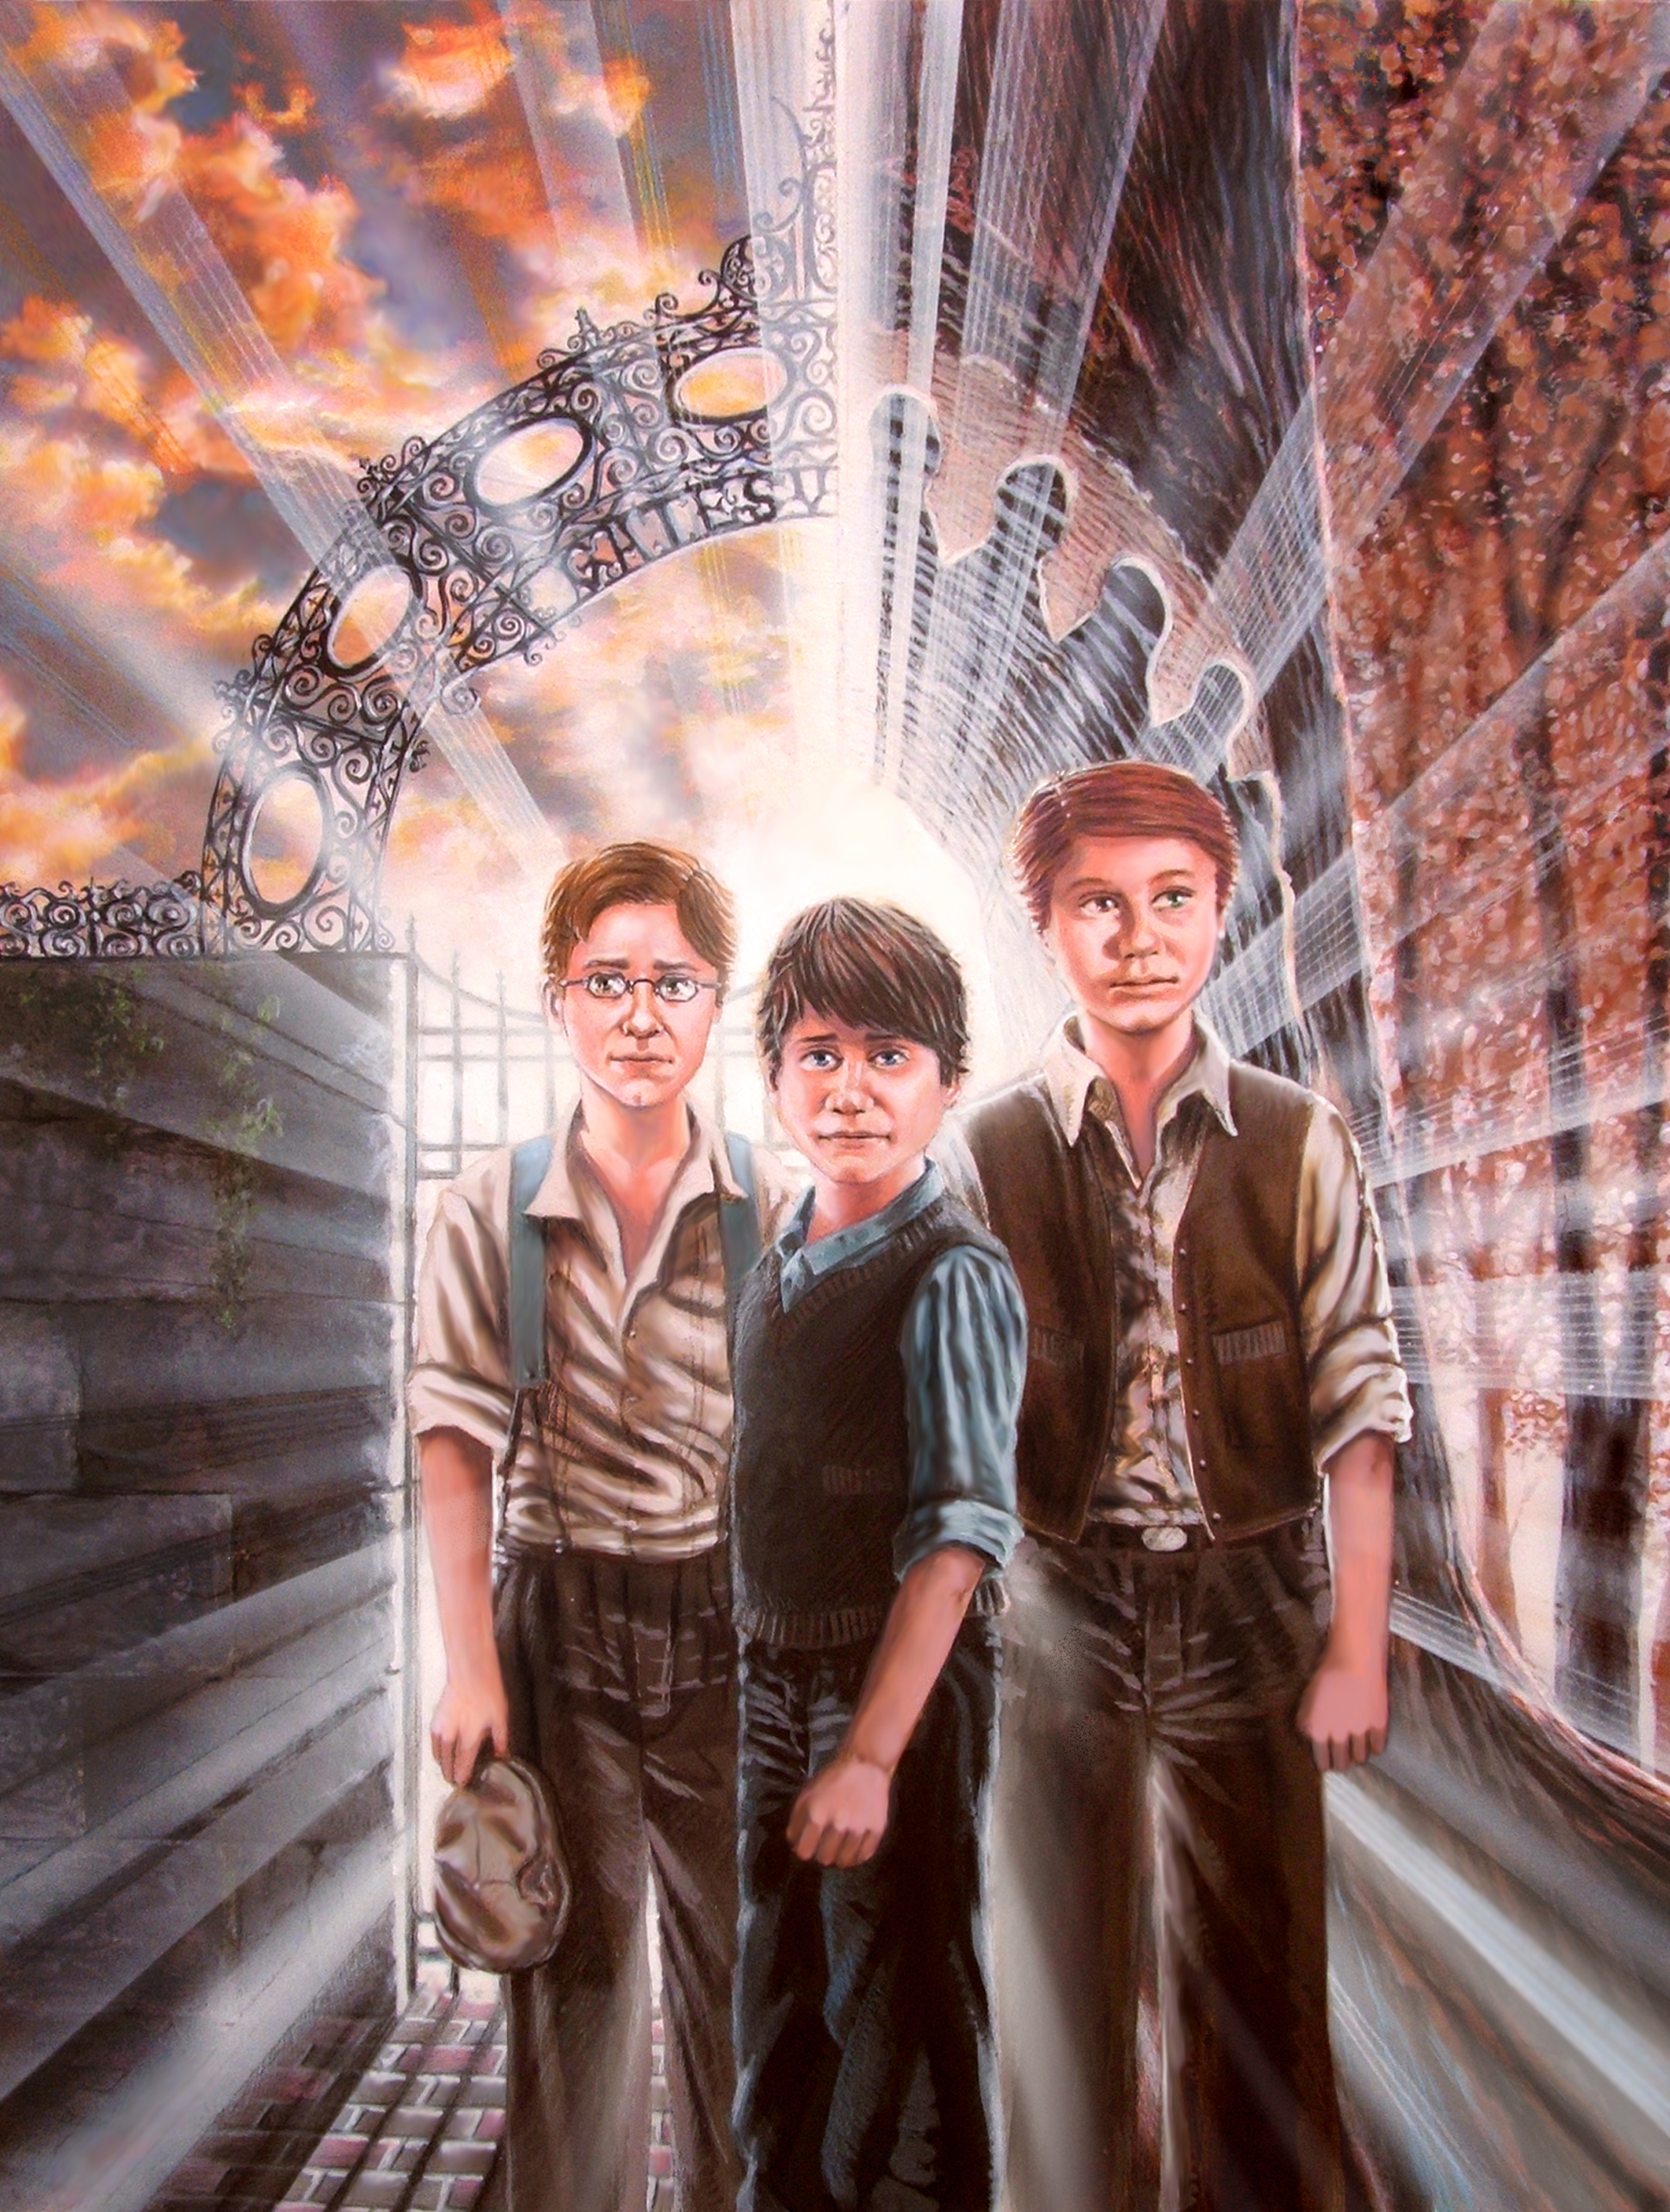
Now the painting comes into its final stages. I experiment with Photoshop
for some coloring and lighting effects, as well as fixing a few flaws
here and there.
You'll notice here that I added more light in the lower right corner,
and (at the client's request) I repainted the forest to make it look
a little darker.
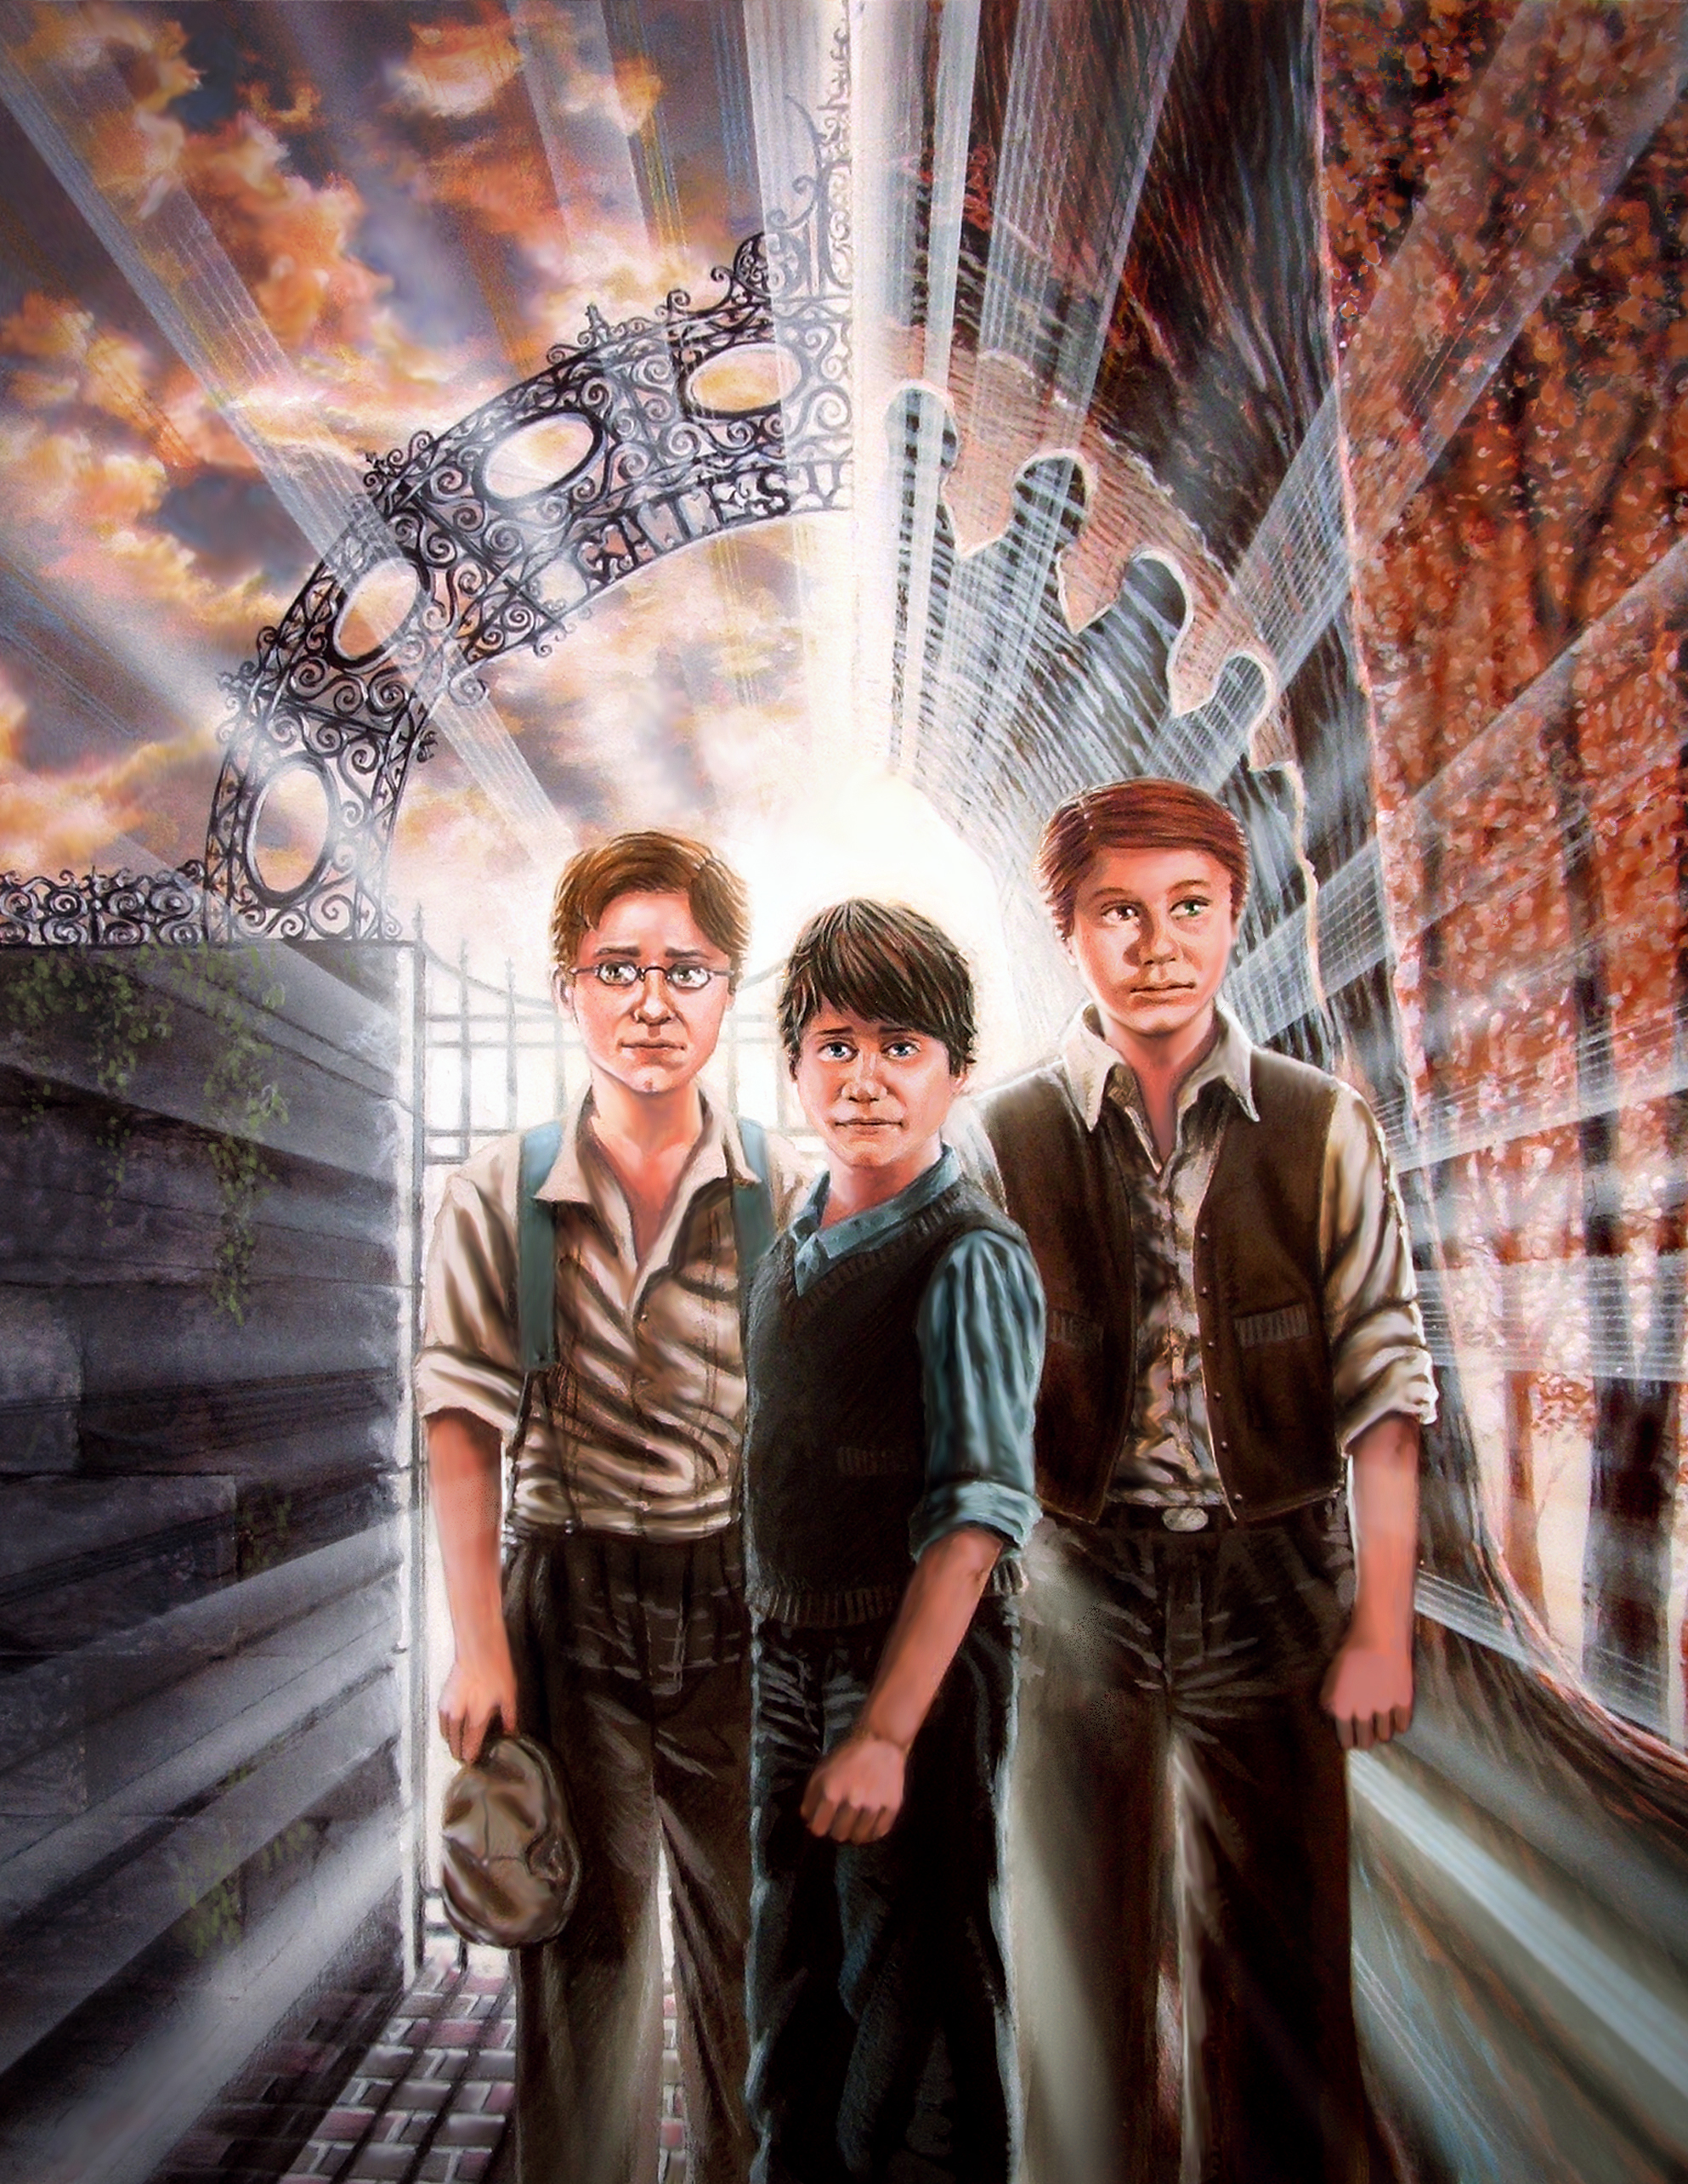
Here the client requested I remove some of the lighting effects that
separated the boy in the center from the other two behind him. And
just when I thought I was done, I noticed a terrible, horrendous flaw:
two of the boys' heads were too big, not in proportion to what they
should be...
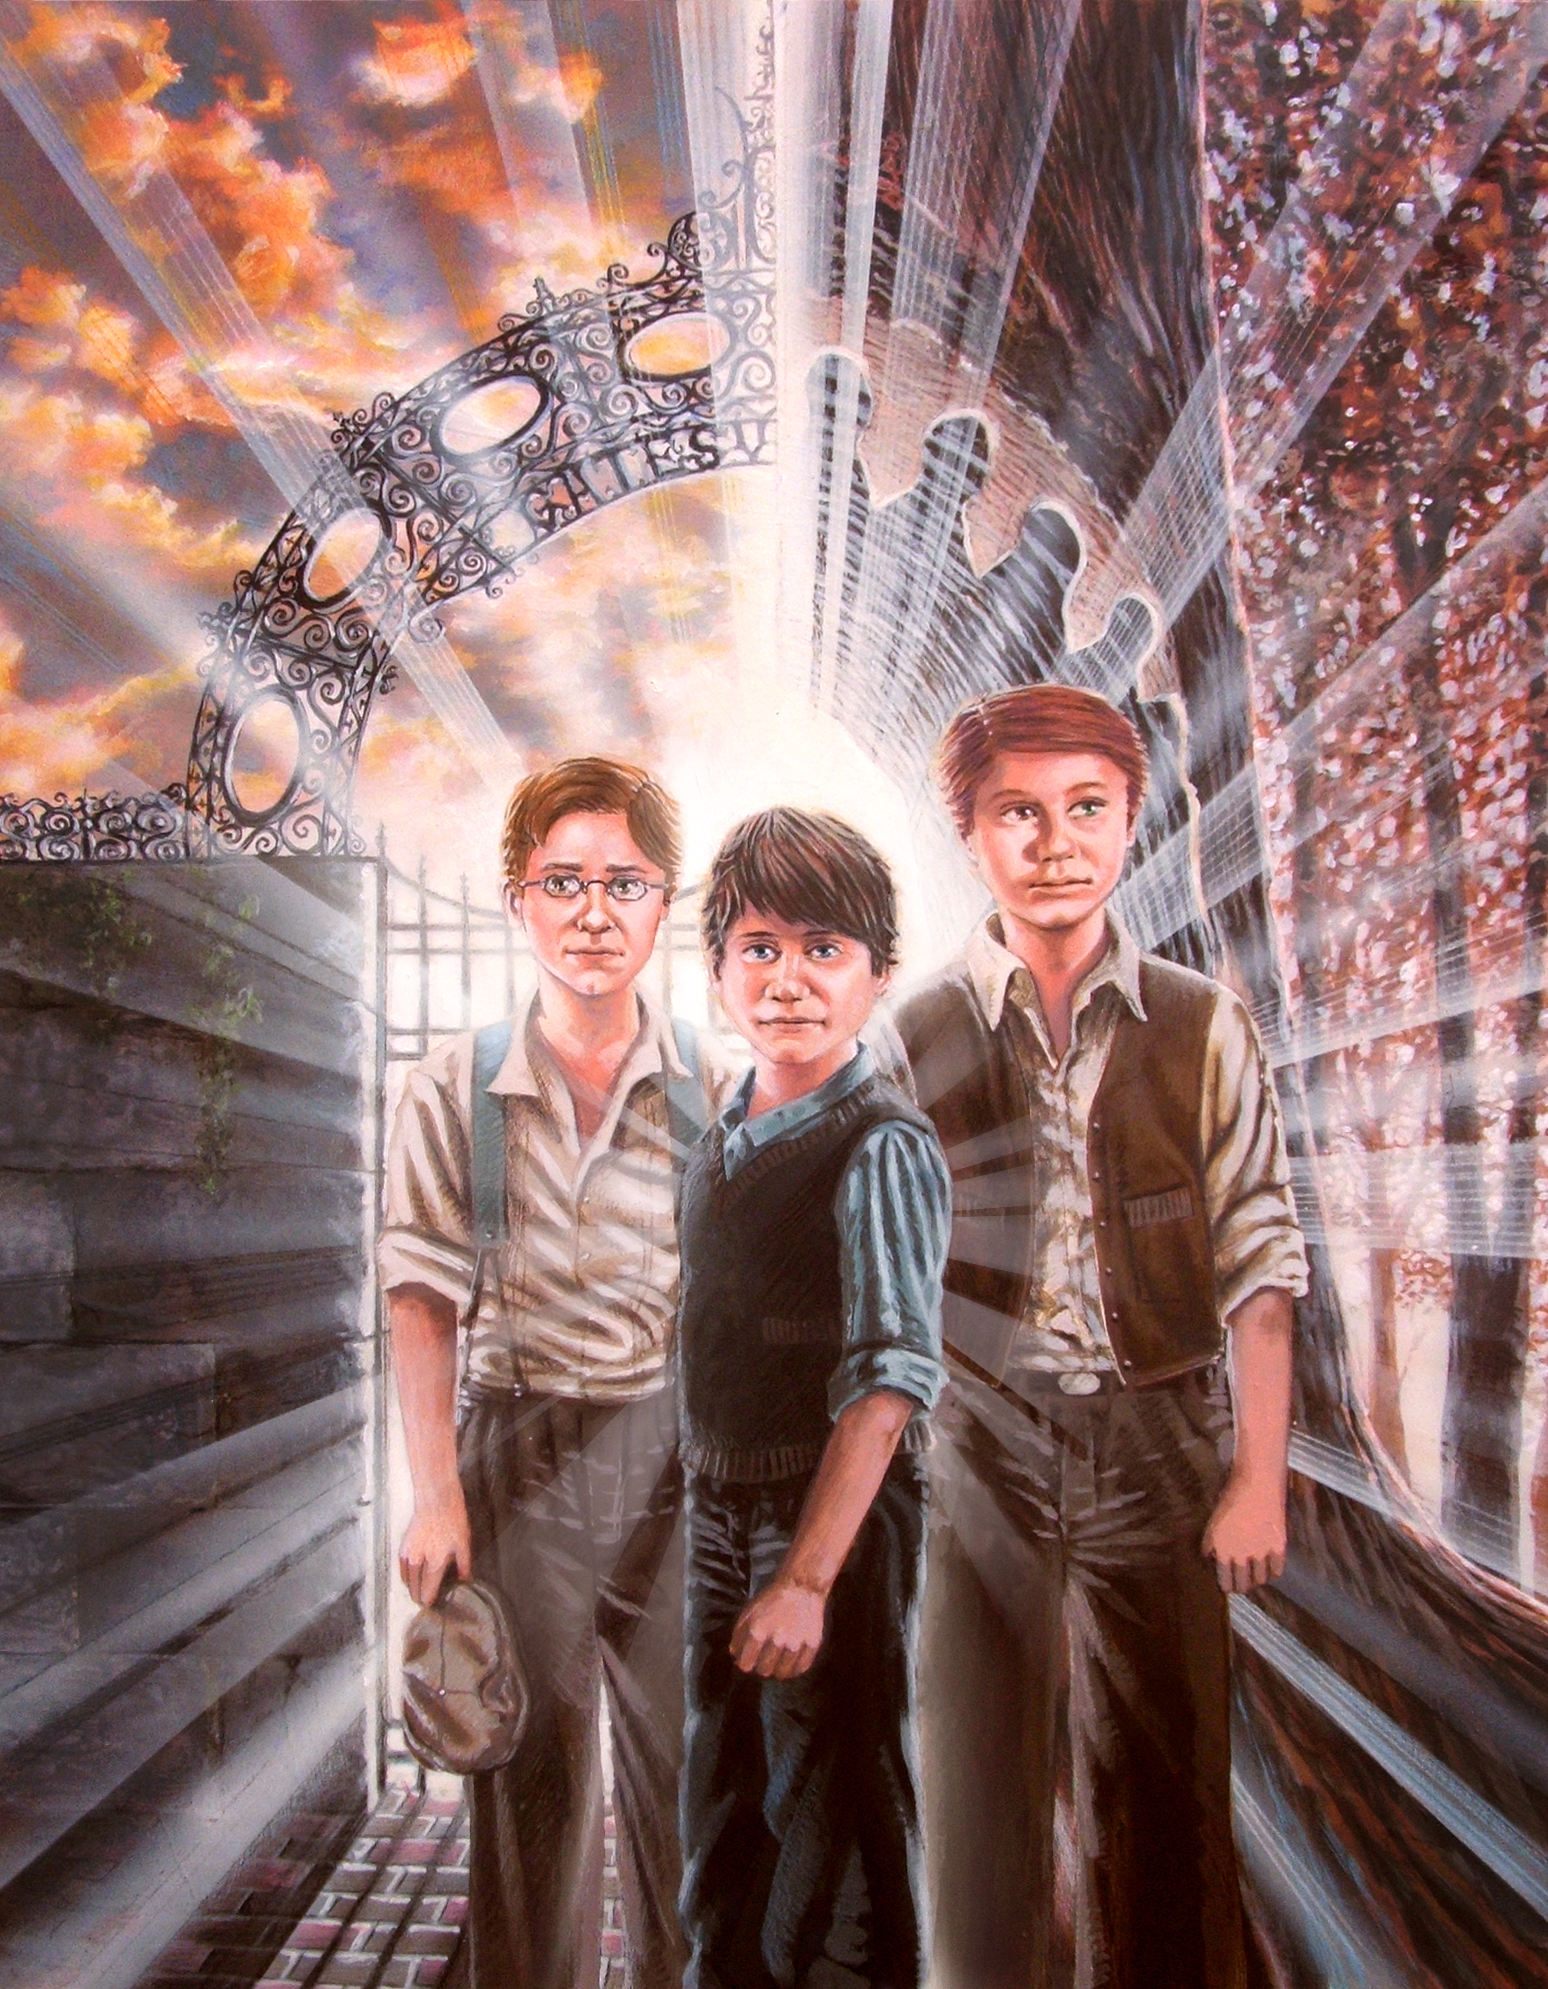
Whoever invented Photoshop, I'm forever in your debt. A quick resizing
and trimming, and the problem was solved. Here is the illustration
with the corrected head sizes. See what a difference it makes?

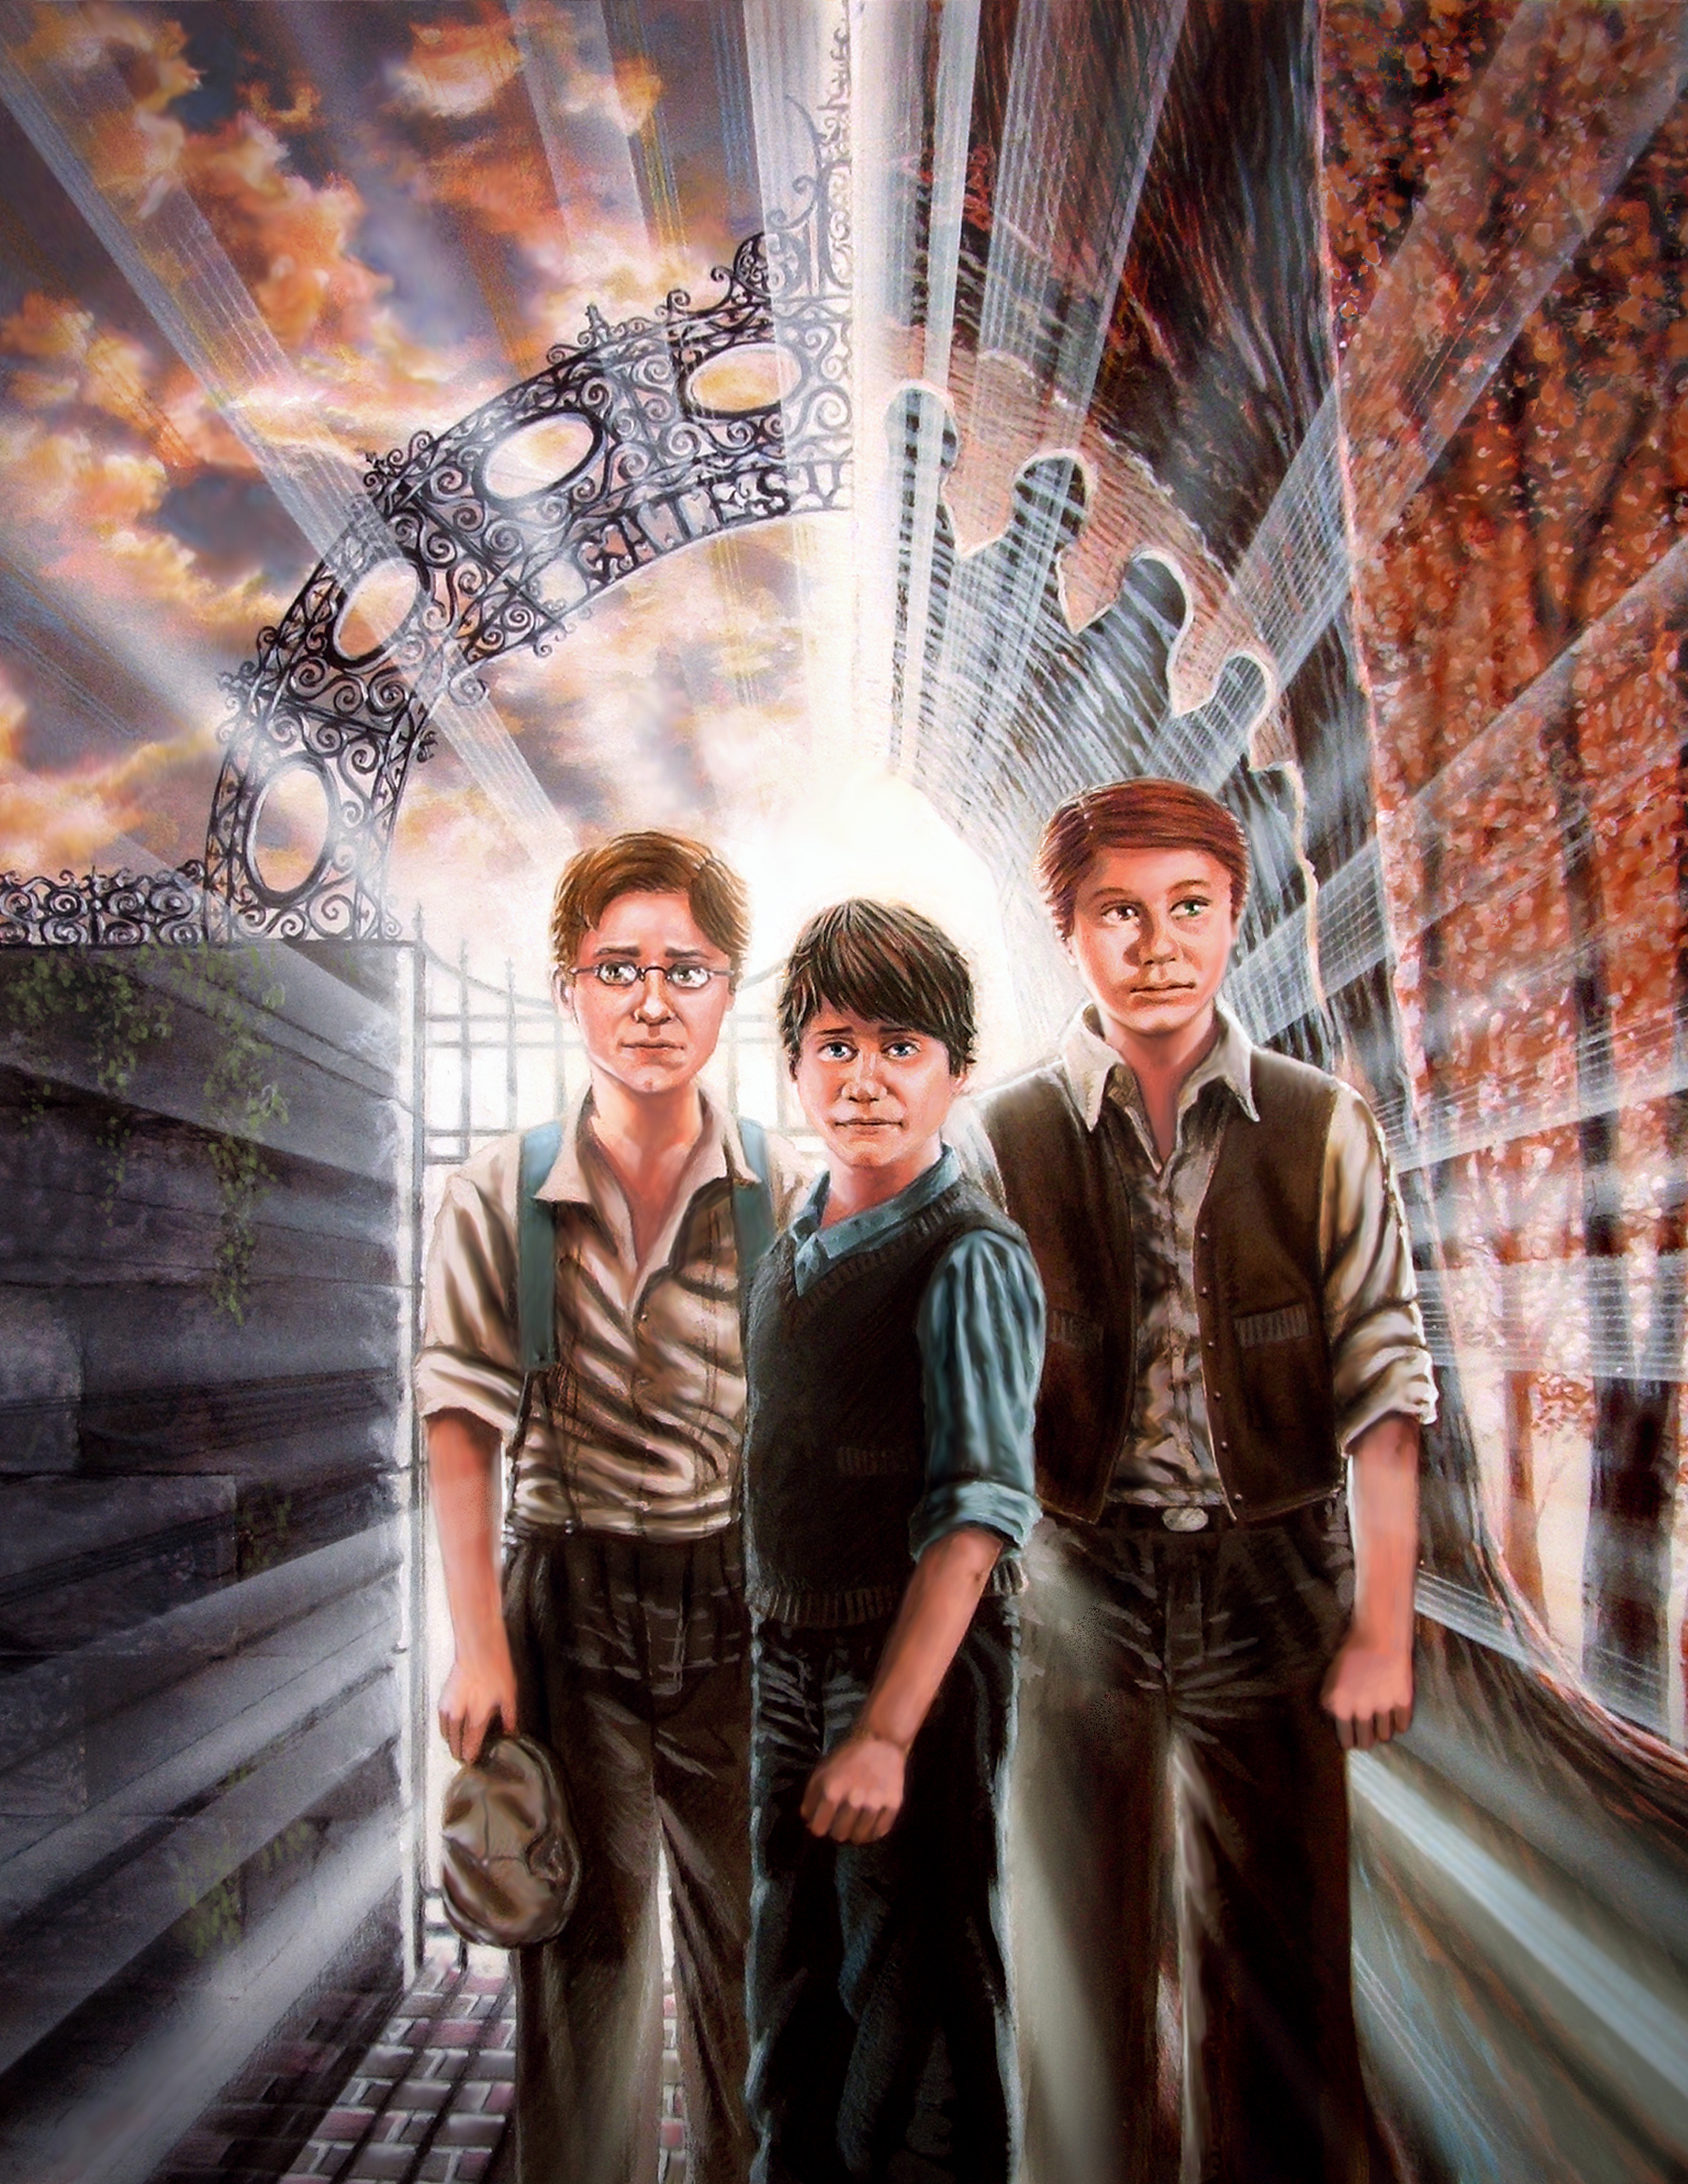
But
I'm still not quite done yet. I decide to experiment with some additional
color tweaking and shading, making the left side of the picture a
little more desaturated and upping the blues, while increasing the
warm, saturated colors on the right. (I do each of these steps in
individual layers, so each change can be tweaked and modified without
affecting the other elements.) It's subtle, but compare it to the
picture above and you'll see it. I also add a little shading on the
three figures, along with a dark circular gradient around the edges
to give it all a little more depth. The opacity of these shadings
is only around 10% -- again, subtle, but it helps add a little more
drama to the picture. I also crop it slightly, making it look a little
more centered.

A few more
painting adjustments are made: More shading and color on the boy's
face on the left, shading on all the shirts, and color adjustments
and backlighting on each of the boys' arms.

The
final cover is still in progress, with more adjustments being made.
Below is a rough mockup.
|